
You do not need expensive photo editing software to achieve interesting manipulated images. This tutorial will show you how to achieve a black and white "Pop Art" portrait effect using Microsoft Word 2013. The technique can also be used to produce stencils for screen printing.
1. Open a new document in Microsoft Word.
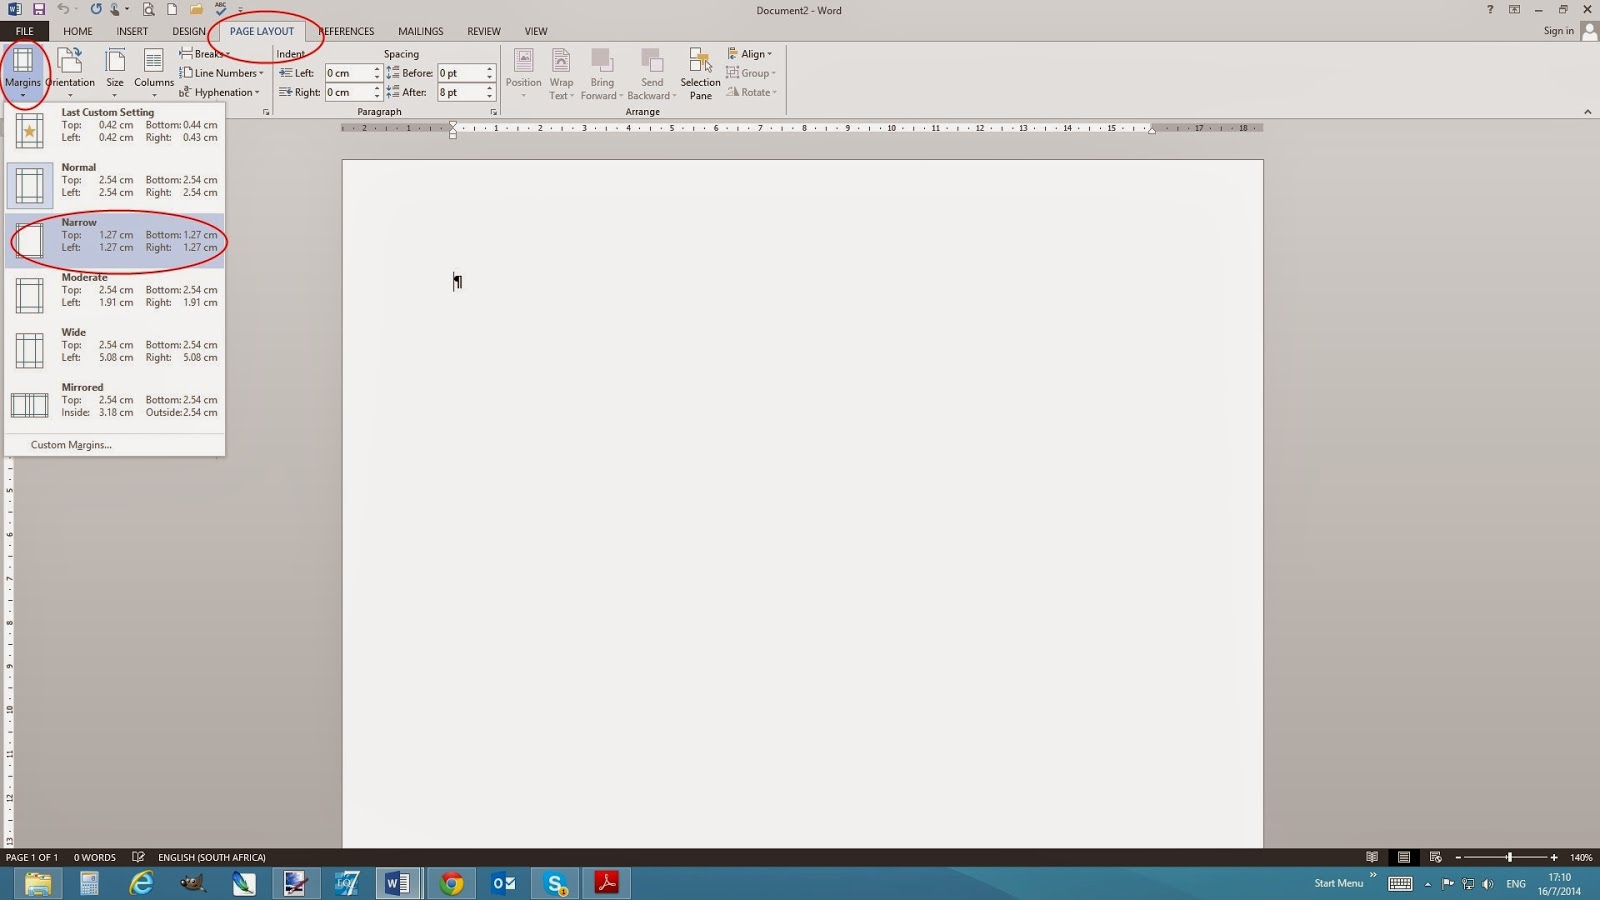
2. Change the margins in order to give you the largest printing area:
Page Layout tab, Margins, select Narrow.
(Click on the images for a larger detailed view)
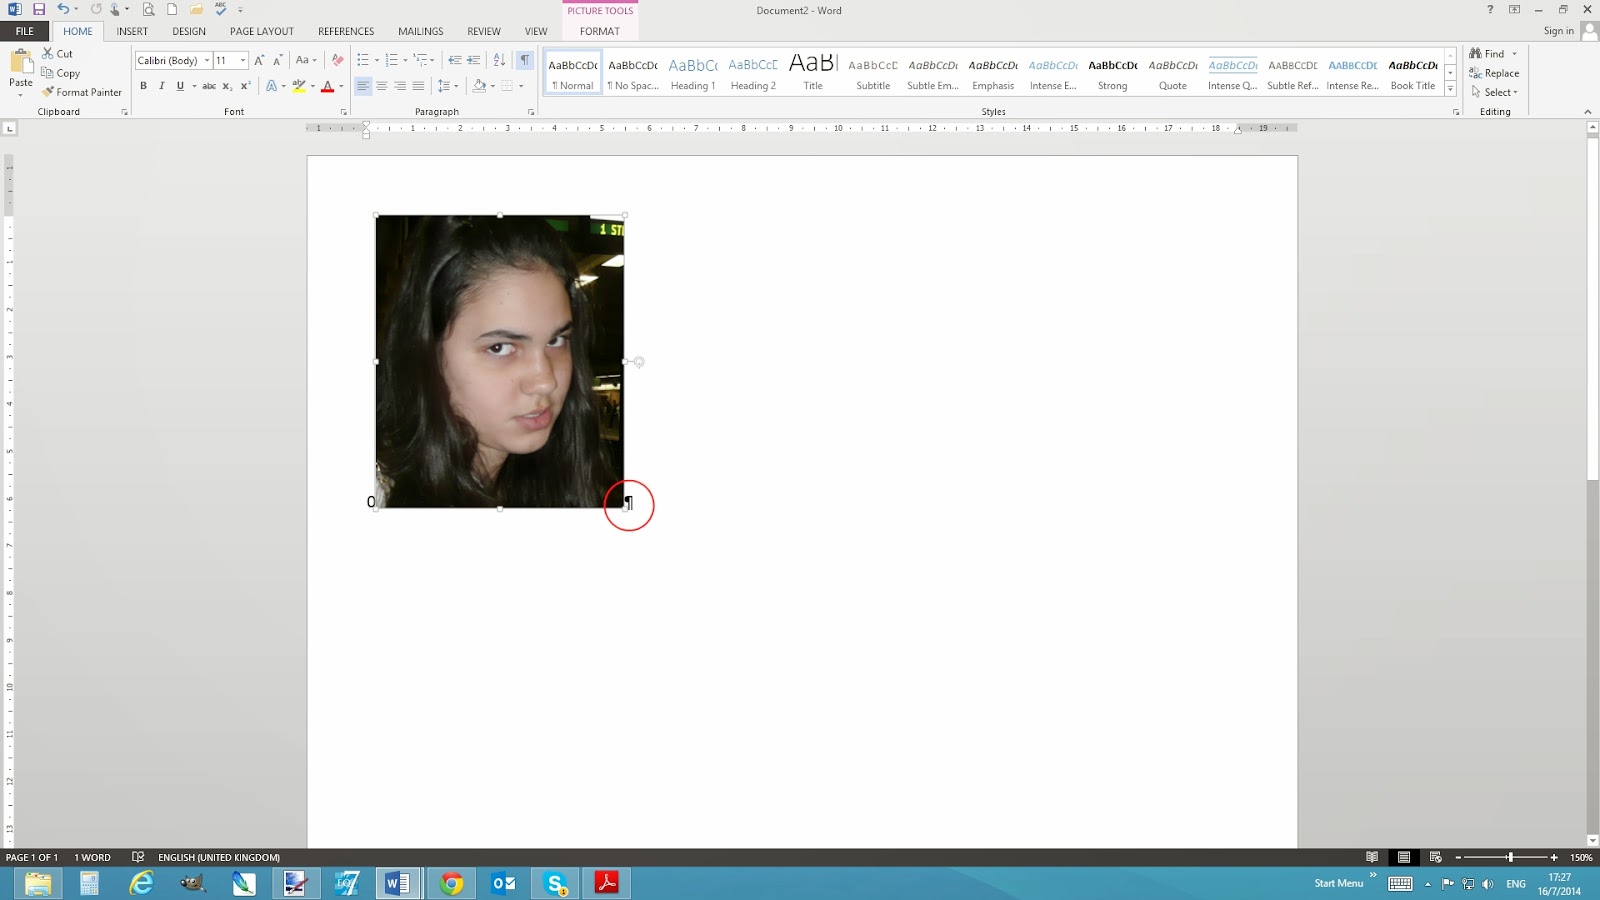
3. Add your chosen photograph:
Insert tab, Pictures, locate your photograph, click Insert.

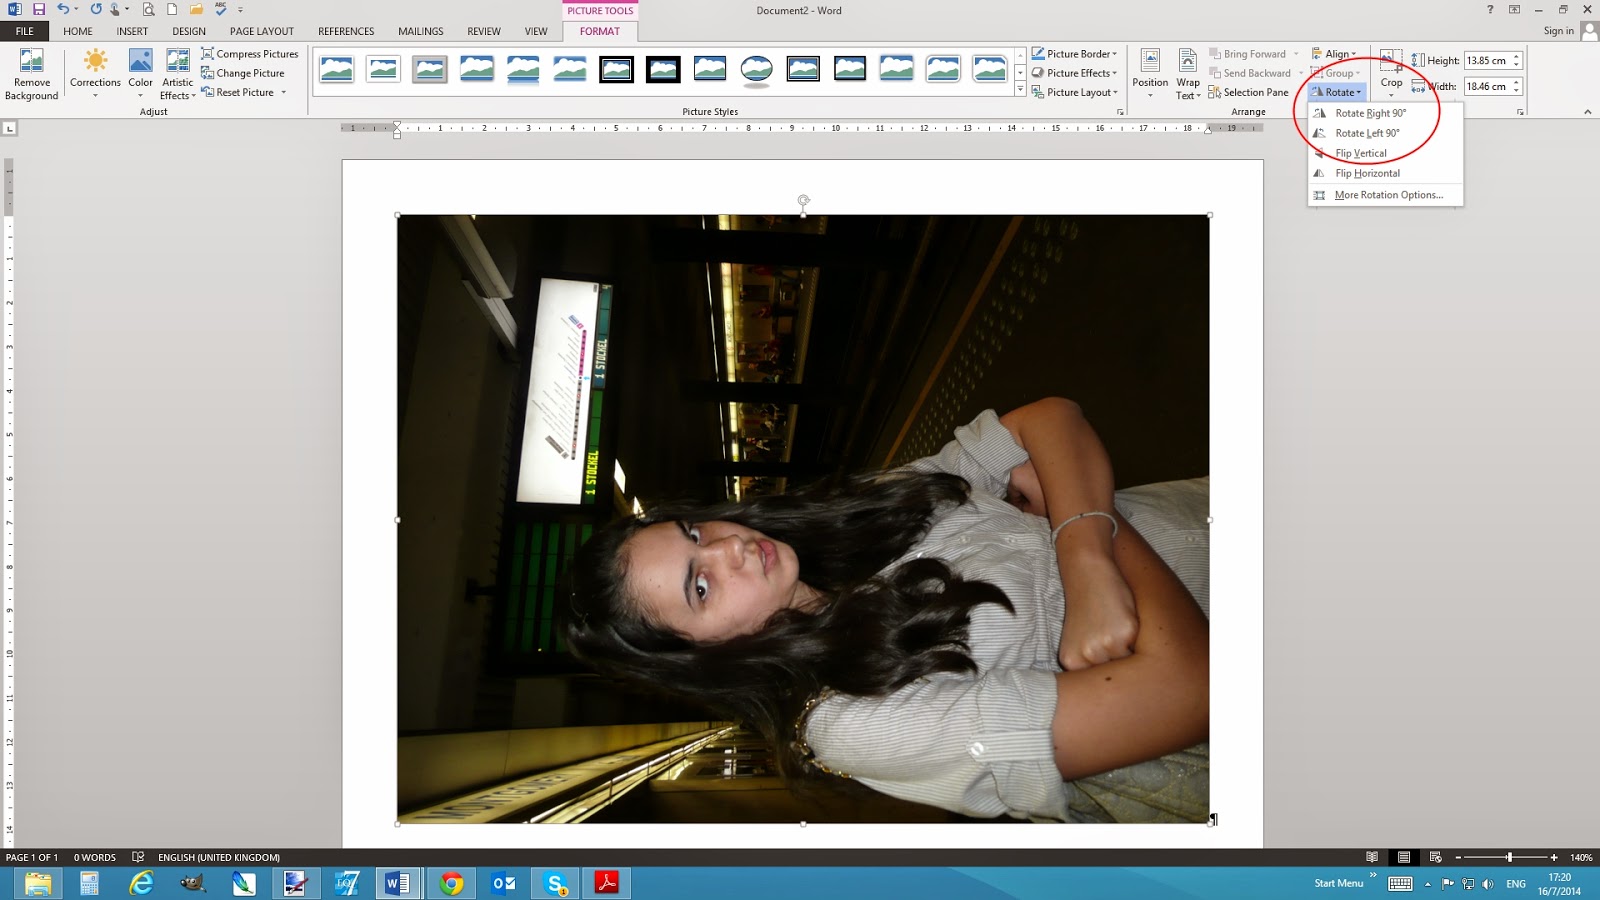
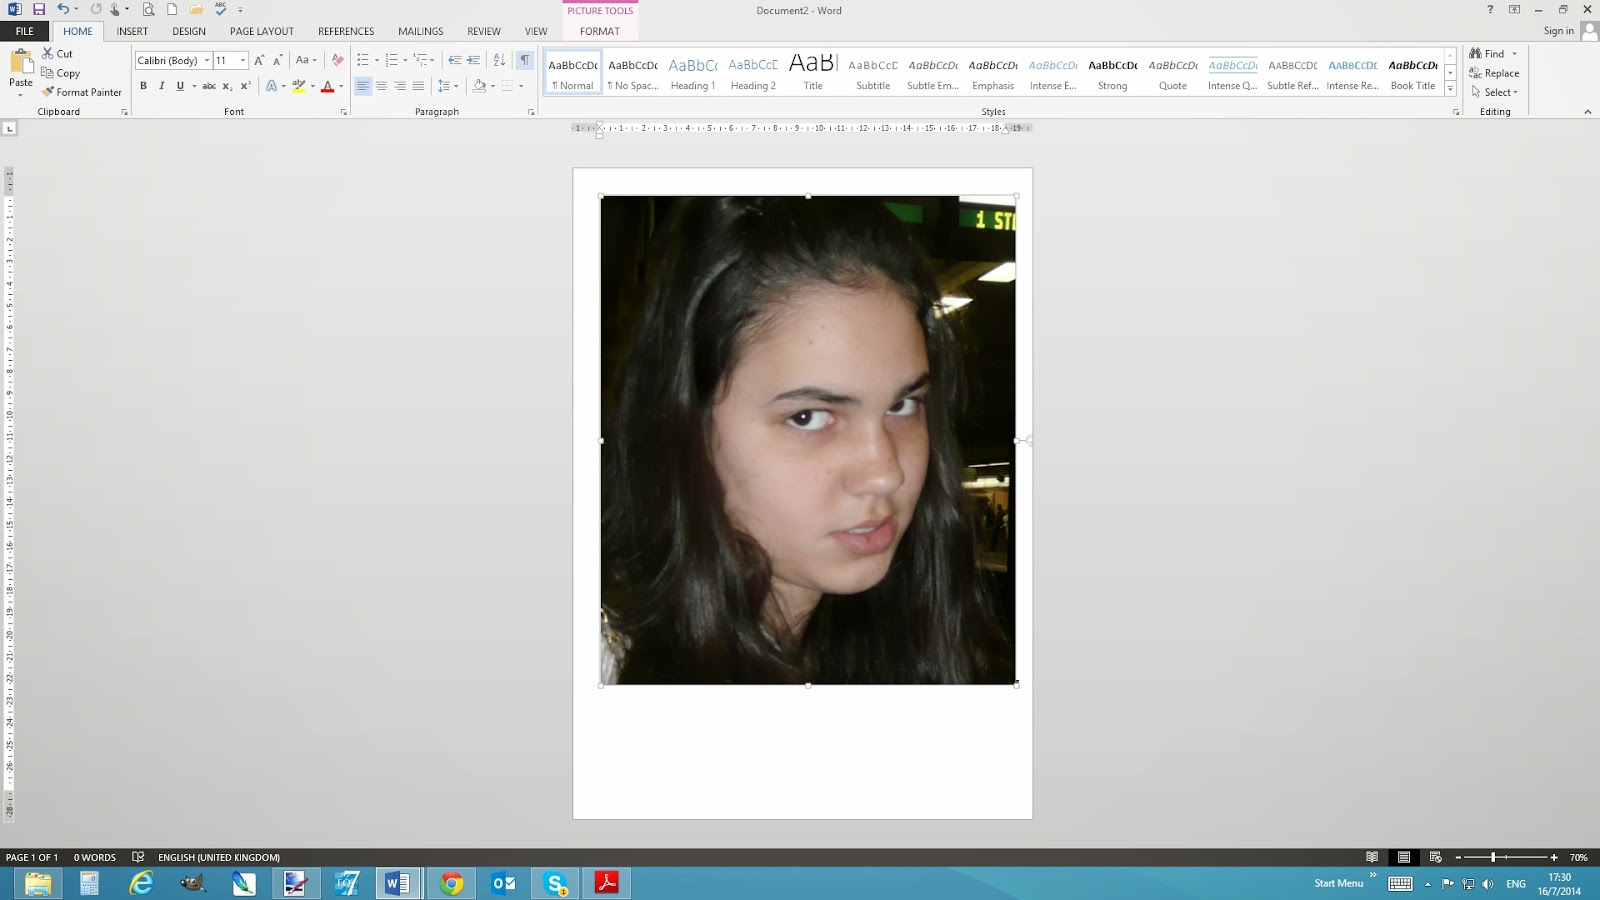
4. If necessary, Rotate your photograph so the orientation is correct.
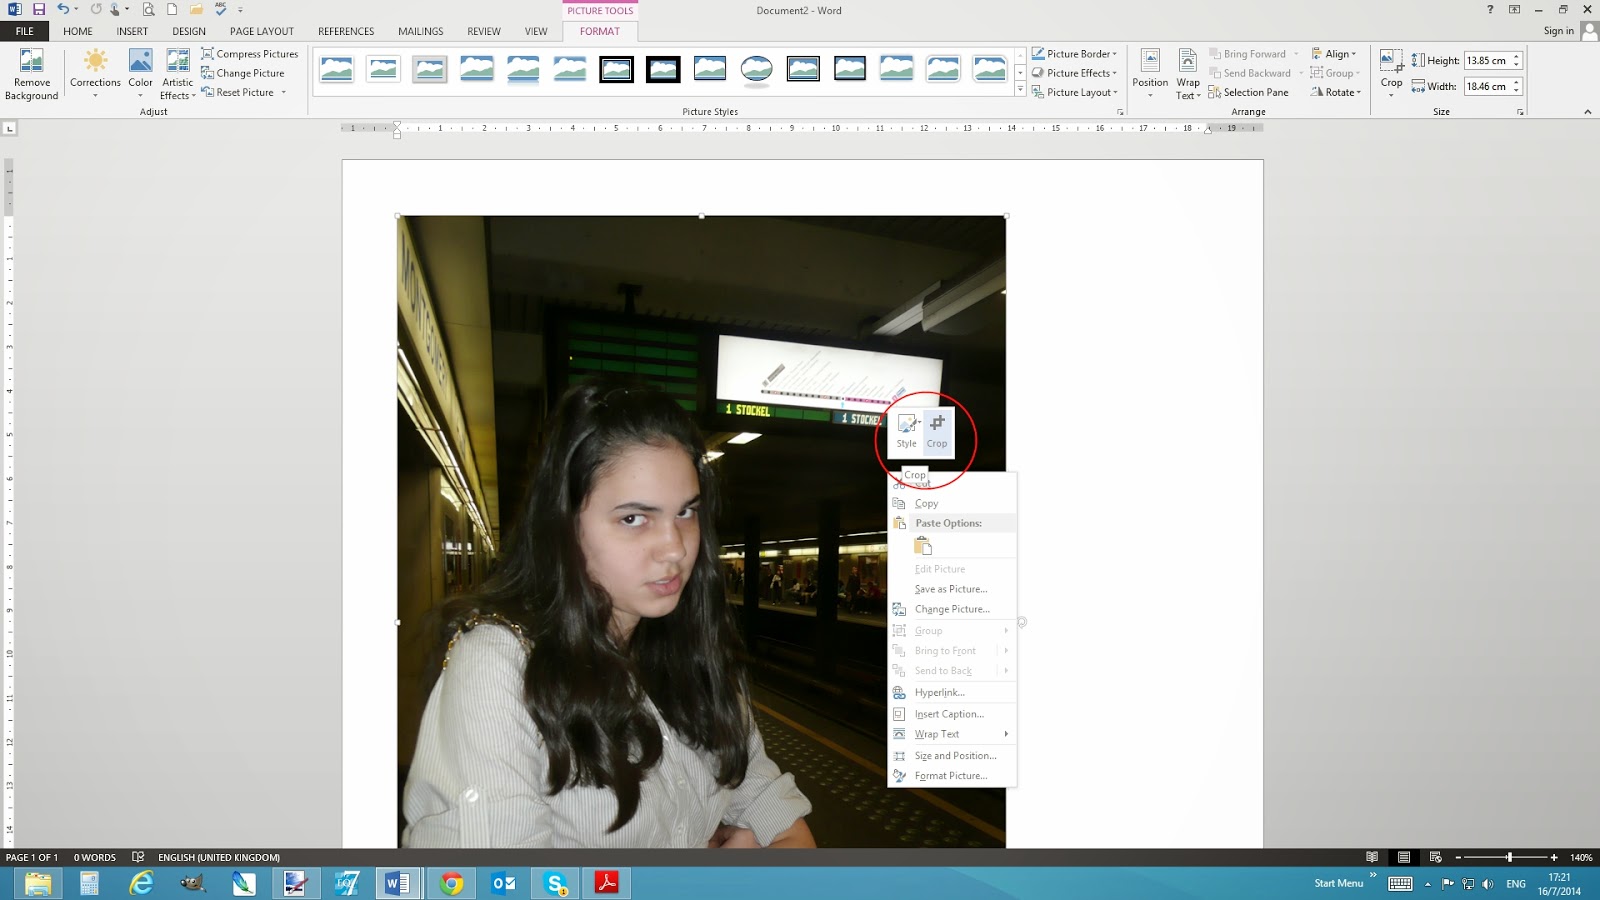
5. Trim the image and remove unwanted areas:
Right Click on the photograph, click Crop.
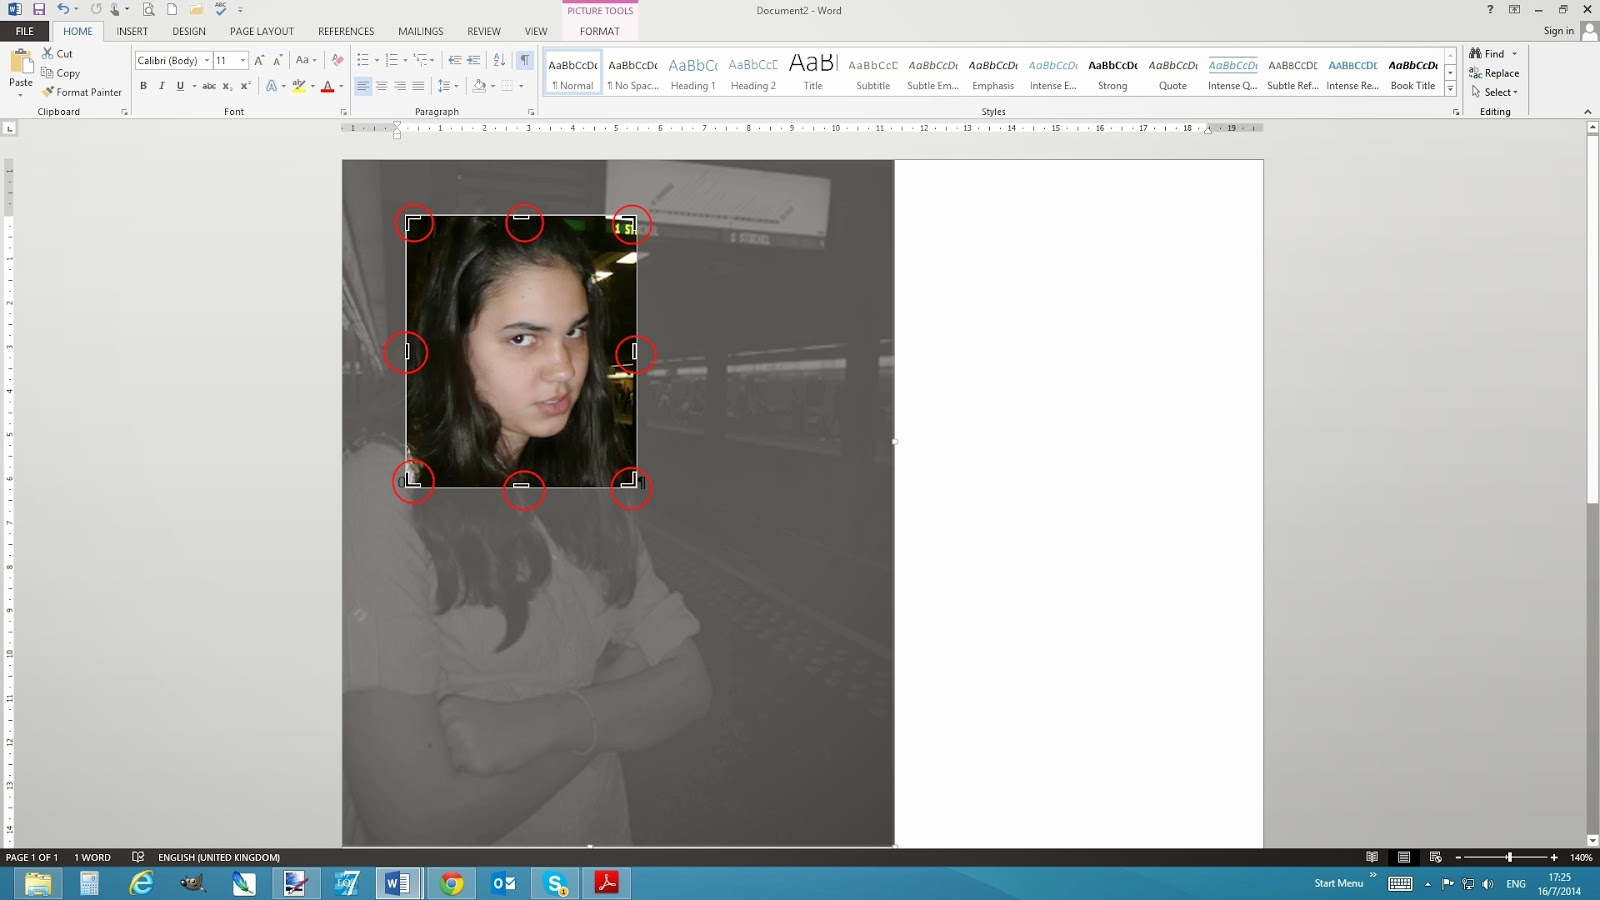
6. Crop the photograph using the sliders (when the Crop function is activated). Hit Enter on the keyboard to confirm the changes.
7. Resize the photograph to the desired size by dragging from the corners - this enlarges (or reduces) the image proportionally without distortion.
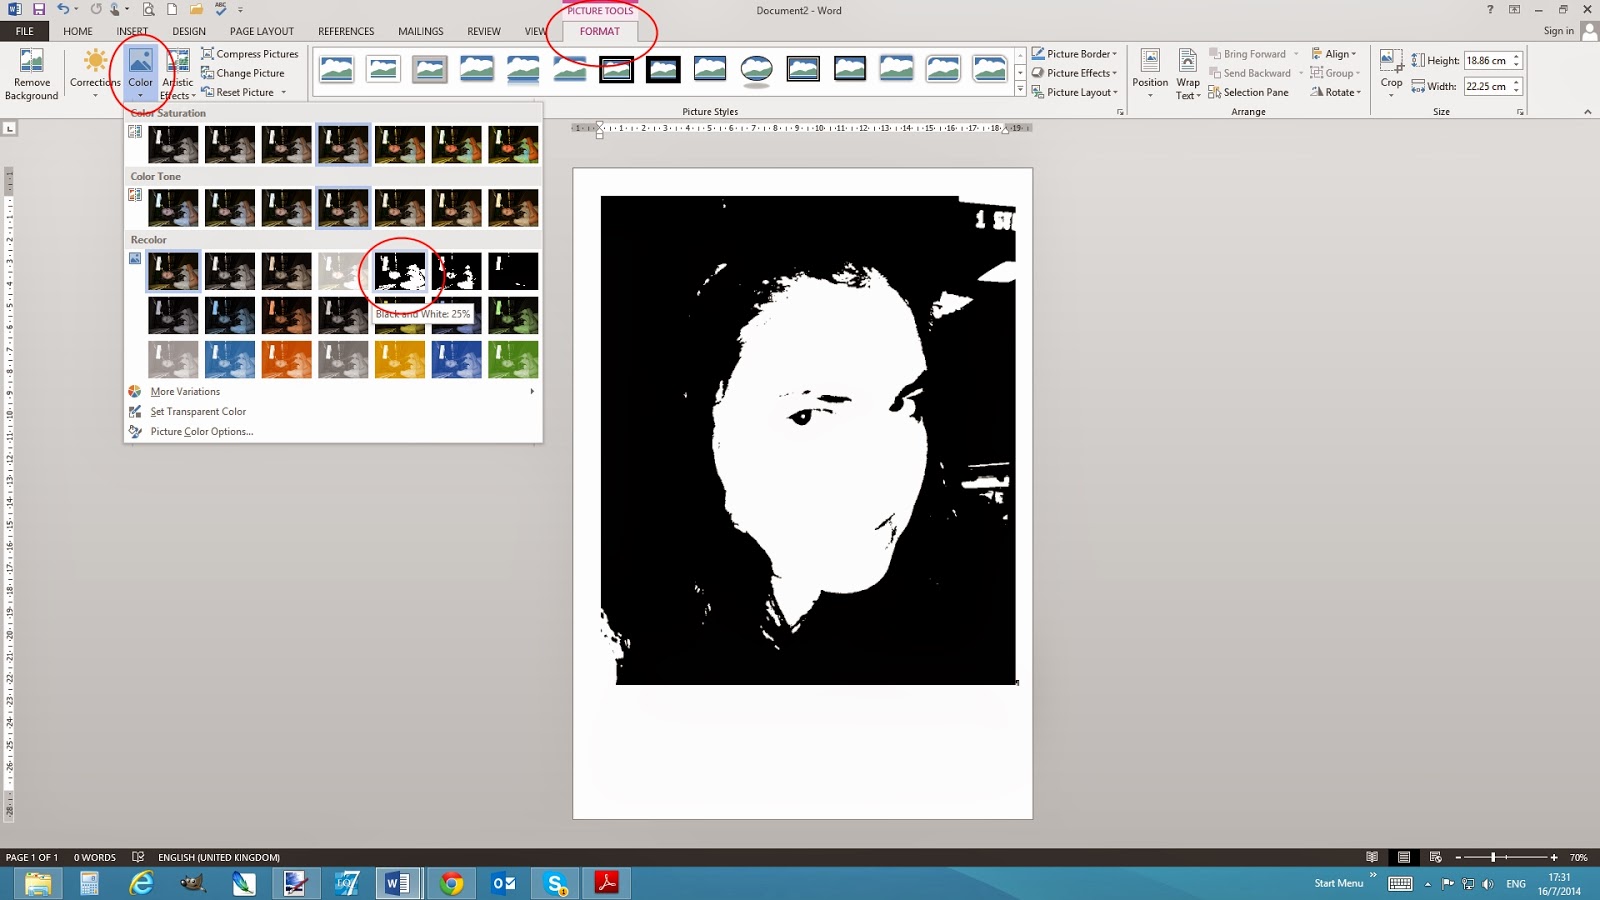
8. Change the image to a single colour by selecting one of the pre-defined recolouring modes: Format tab, Color, Recolor, select Black and White 25%.
9. To fine tune your image, go to the Format tab, Corrections tab, and select a different pre-defined Brightness/Contrast option.
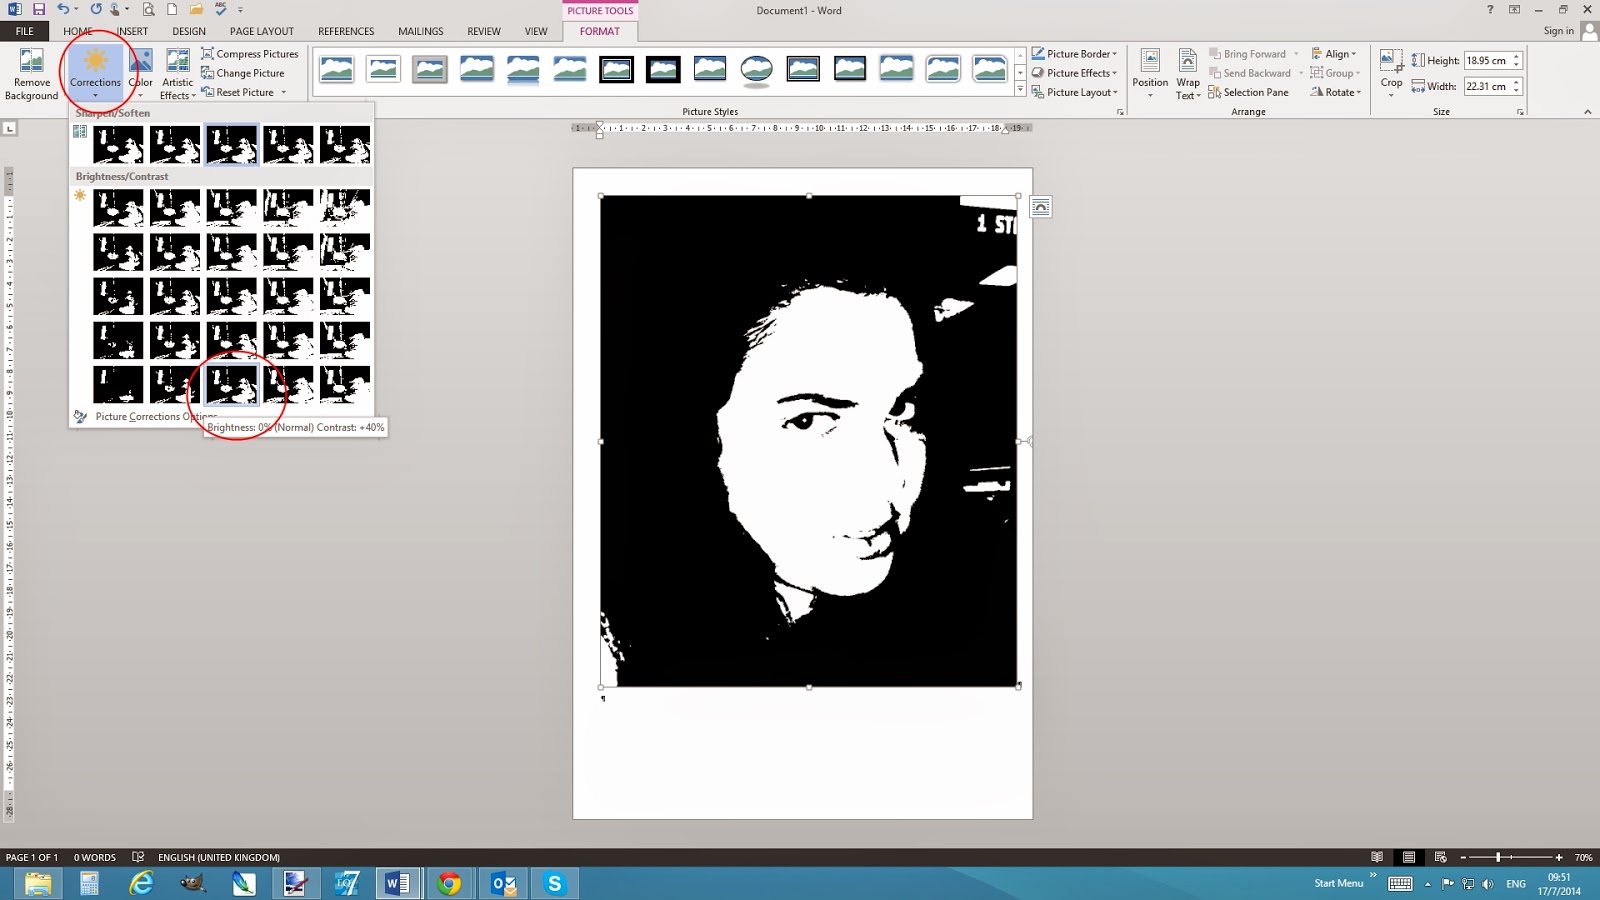
10. Congratulations you've done it! When you are happy with your image don't forget to Save the document. You can now Print your image.
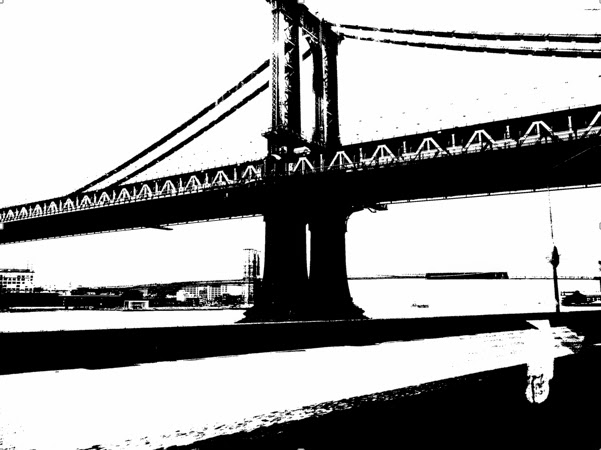
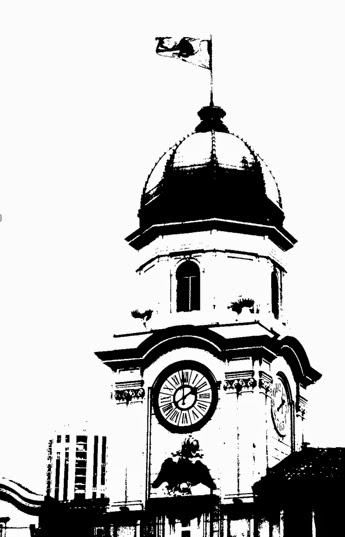
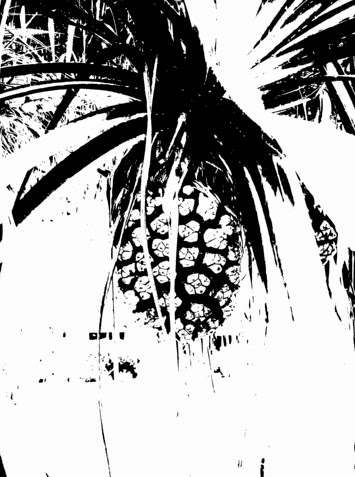
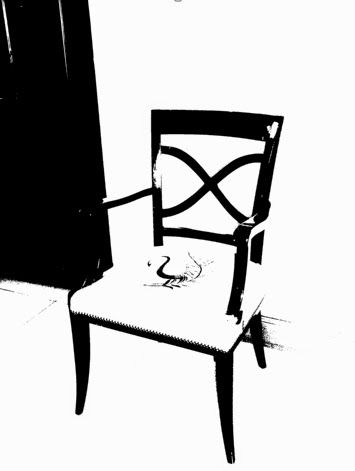
This manipulation can be applied to many different images and not just portraits.
If you have any questions, please do not hesitate to contact me.
Share this link and use the technique freely.
(Kindly note that the images and text in this post are copyright protected)
No comments:
Post a Comment